How to carve a kuksa?
In this guide, we detail all the steps to carve a kuksa in the traditional way. To do this, we list the tools you need to have.
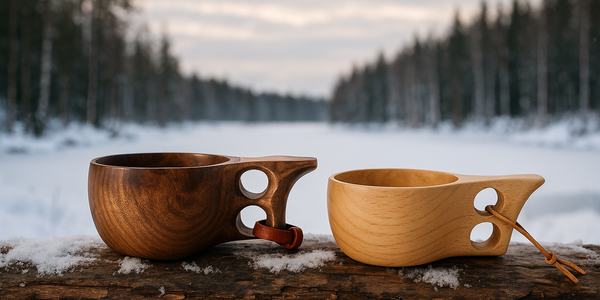
If you don't know which wood to choose, I advise you to read our wood guide to make a kuksa. It tells you which wood to choose and how to store it.

Anne-Laure Compain
Let's start this guide with some wisdom. If you are working with wood to make a cup, or any other object, it is primarily for fun and to let your hands and imagination run free. The kuksa you create does not have to be perfect, it should simply reflect your creativity and the joy you took in carving it.

What tools are needed to carve a kuksa?
First of all, you should know that the knife and the axe are the main tools for carving. The axe is used to roughen the work and the knife to make the finishing touches and more delicate cuts.
The long knife
As its name indicates, the long knife has a long blade that will allow you to quickly roughen the work. This long blade is also used when you need to flatten a part of the wood, like the top of a kuksa.

The short knife
This short blade knife is perfect for finalizing the carving. The short blade allows for better control of the hand's movement, thus avoiding any slippage. The tip of this knife is often used for decorating wood. Since it is short, it allows a good hold of the knife and a more meticulous work.

The spoon knife
As its name suggests, the spoon knife is used to shape the cavity of a spoon, or the bottom of a cup! It has a curved blade in order to cut into the hollow.
There are several types of curves depending on what you want to do. If you want to make a shallow hollow for a spoon for example or on the contrary important, like for a cup.
The classic spoon knife exists in a right or left version. But be careful, this specificity has nothing to do with the fact that you are right or left handed. In fact, it is only a question of the direction with which you will work the hollow. This knife also exists with a double edge blade, but it is not recommended to use it because the double edge prevents you from pushing the blade with your thumb which brings more precision in the movement.

The carver knife
This knife is specific for creating patterns in wood, even if the short blade knife does the job very well. It is recommended to use a straight edge knife with a short blade, about 2cm. In addition, it should be sharp to the point in order to make nice cuts and use the full potential of the blade.

The ordinary knife
As its name indicates, this is a classic knife, used to remove bark or twigs from a piece of wood. Moreover, this type of knife is a knife used by the Sami. It is mainly used to cut wood and remove bark to make a fire.

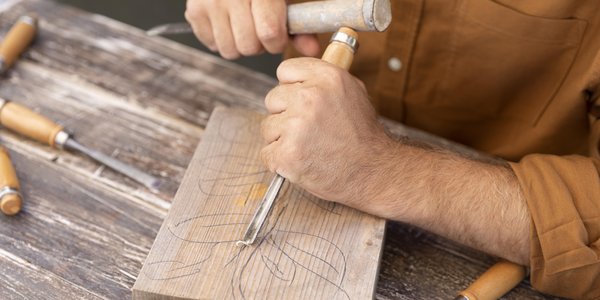
The hatchet
The classic axe is not suitable for carving, it is not very precise because it is too big and too heavy. However, the carving axe is! It is lighter and has a shorter handle. It allows you to quickly roughen the work and remove the excess wood.

Immerse yourself in the essence of Finnish craftsmanship as you explore the history and making of this traditional kuksa and the variety of woods. By subscribing, you'll receive weekly updates on the kuksa.
What are the steps to create a kuksa?
You can find details of the different woods to carve a kuksa in our wood guide. Just be aware that the steps are the same whether you are working with birch burl, birch, oak or pine!
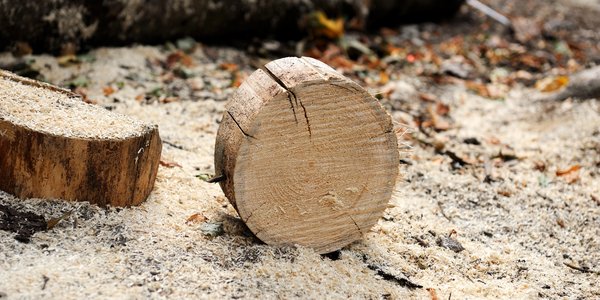
If you are working with burl, the shape and size of the burl will determine the size and depth of the kuksa as it must be in one piece. So study your piece of wood well before you start, be strategic.
Remove the bark
Remove the bark from the growth, or piece of wood, with an axe and split the trunk into the pith

Roughly cut the wood
Using a carving axe, roughly cut the outer shape of your kuksa

Creation of the round shape
With the regular knife, continue carving the outer shape of the kuksa. This is the time to carve a round shape with a flat, smooth surface on top.

Sculpture of the hollow of the kuksa
Draw a line down the center of the shape and draw the shape of the handle. Then, using the spoon knife, begin to hollow out the cup. Start digging in the middle and work your way to the edges.
At this stage, it is important to work successively the outside and the bottom of the hollow in order to keep the edges of the cup of the same thickness. This allows to have always the hollow of the cup in the center of the round shape.

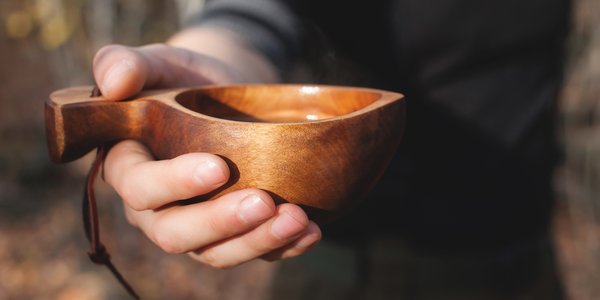
Carving of the outside of the cup
Once step 4 is completed and the inside of the cup is finished, tackle the material on the outside and the handle. Make a well rounded and flat shape on the bottom so you can put the cup on.

Let it dry naturally
Once all the carving work is done and you are satisfied with the shape, let the cup dry naturally and slowly, preferably surrounded by sawdust. This allows the wood to dry more evenly.

Finishing touches
It's time to move on to the finishing touches. Having a smooth surface on a burl is very complicated, because the wood fibers go in all directions and therefore the cuts are complicated. The trick is to have an extremely sharp knife and to sharpen it often, the cuts will be easier to make.

Sanding of wood
For sanding, use fine sandpaper and start by sanding the inside of the cup. The more the surface is sanded, the more the shine and grain of the wood will come out.

Boiling salt water bath
For the hardening of the kuksa, there are different ways. We will introduce you to 3 of them:
Boiling coffee treatment, more traditional
Simply put the cup in a pot filled with boiling coffee. Then let it boil for 45-60 minutes. The coffee will bring a protective film on the kuksa and waterproof. The coffee will also give a nice dark color to the kuksa.
Treatment with boiling water and salt
As for the coffee, it is a question of putting the cup in a pan filled with water and coarse salt. Then let it boil for 45-60 minutes. For the amount of salt, fill your kuksa with coarse salt, it will be enough. It is important to know that the salt, by impregnating the wood, will retain the humidity and will therefore prevent the wood from splitting.
Oil treatment
Oil is the most popular treatment for kitchen utensils such as cups, spoons and knives. It enables :
- Harden the wood
- Solidify the surface in contact with oxygen
The oil will penetrate the pores of the wood and solidify it. You can use grapeseed oil (odorless and colorless) or linseed oil.

Example of a kuksa hand-carved in birch wood by Micha Donker, a Kuksa Shop customer 🌳

What kind of decoration can be added to a kuksa?
Almost all handmade kuksa have a decoration that is added after the sanding phase. But be careful, if there is a decoration, it must respect the traditions and their meanings.
Reindeer antler decoration
The most classic decoration is a piece of reindeer antler polished and inlaid in the handle of the cup. Indeed, reindeer being part of the Sami life, reindeer antler came naturally to decorate the wooden cups they created.
The reindeer leather strap
On every authentic mug, there is a reindeer leather tie attached to the handle.
But do you know what this tie is for? Originally, this tie was used by the Sami to hang their kuksa on their belt. This tie allows, among others, campers or adventurers to hang their kuksa on their backpack.
Painting
Another possible decoration is to paint a pattern on the cup or on the handle. Traditional paint is not durable enough and is often replaced by epoxy

Engraving
It is also possible to find cups engraved with the name of a person or a landscape. Learn more about wood engraving.

Fire
Finally, some creators of kuksa offer more creativity and will burn the cup with a flashlight to give it a natural black color.

How long does it take on average to make a kuksa.
The time to make a kuksa will depend on the experience of the person who carves it, the wood used, the shape and especially the size of the cup.
On average, it takes 5 to 7 days to make a cup.
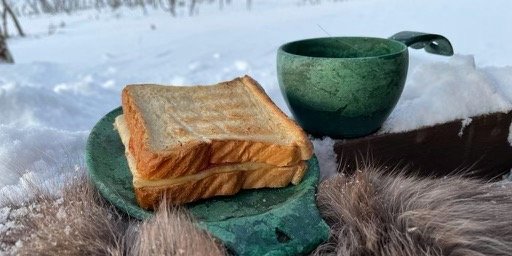
Win a Kuksa for the Summer! ☀️
This summer, we're giving you the chance to win a beautiful handcrafted Kuksa! Simply enter your email address and you could be our lucky winner. Good luck to you all!
Winner will be announced on September 1.

Our customers' favorite Kuksas
Durable, lightweight, and timeless, the Kuksa is perfect for those seeking to combine tradition, nature, beauty, and functionality.

Saimaa kuksa 25cl
This generous kuksa, with its reindeer antler handle, is perfect for enjoying a large drink in nature while appreciating traditional craftsmanship.

Kuukkeli kuksa 20cl
Inspired by the lucky bird of the Far North, this lightweight and versatile kuksa can be taken anywhere, making it perfect for an outdoor break.

Kaniini kuksa 20cl
Combining practicality and elegance, this kuksa with its reindeer antler handle accompanies all your adventures, offering a perfect balance between tradition and functionality.

Hirvi kuksa 25cl
This large, sturdy kuksa offers a secure grip. Ideal for those looking for a high-capacity, durable, natural, and authentic cup.

Orava kuksa 5cl
A refined small kuksa, ideal for enjoying a liqueur by the fireside, enhanced by a handle of reindeer antler and finely worked wood.


Want to know more about kuksa?
You are passionate about kuksa, then these articles should also interest you.

Maintenance
How to care for your kuksa?Discover ways to extend the life of your kuksa and the four mistakes to avoid.
Anne-Laure Compain

Alexis Le Baron
TYPES OF WOOD
Which wood should be used to make a kuksa?The traditional kuksa is made of birch burl, but it can be carved in other woods !
Anne-Laure Compain
Anne-Laure Compain
Anne-Laure Compain
Anne-Laure Compain
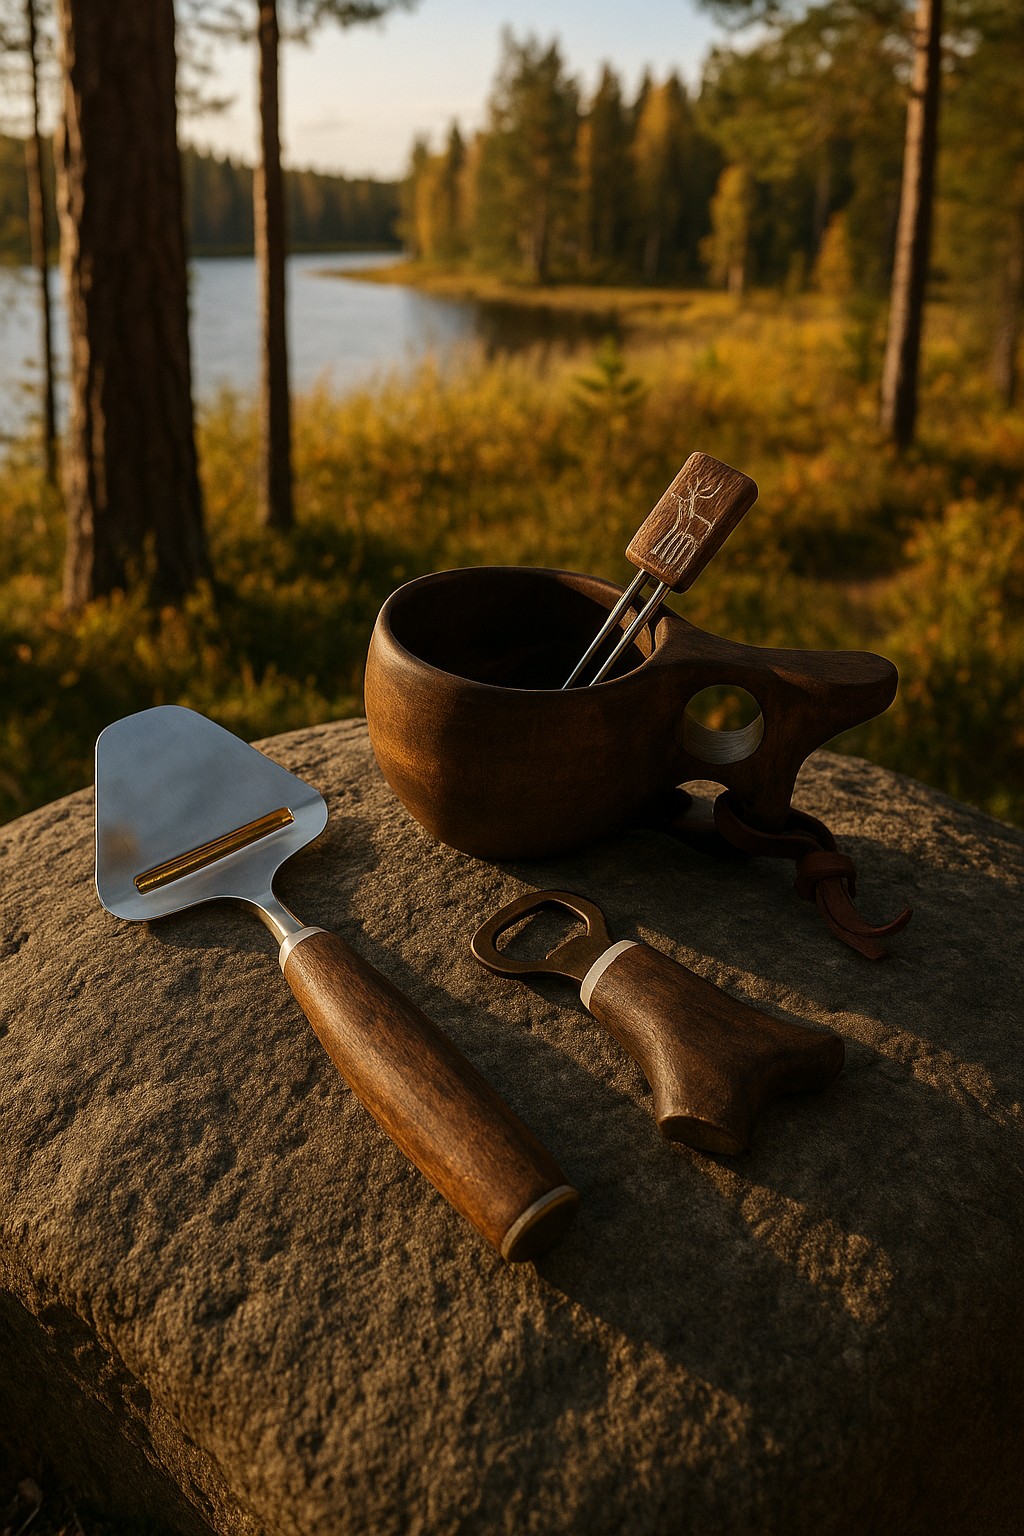
Take part in our contest and try to win the set shown in the photo.
Simple and quick: follow us on Instagram and comment on the contest post.
👉 Exclusive bonus: double your chances of winning by also confirming your entry here on our website.